Easy, Crowd-Pleasing Biscoff Cheesecake Cups
- Jan 10
- 3 min read

When I signed up to bring a dessert to my daughter’s end-of-season field hockey banquet, I knew I needed something that could handle a crowd, travel easily, and—most importantly—be a complete showstopper. I needed a dessert that was a slam dunk (or maybe, a flick into the goal!).
Enter: No-Bake Biscoff Cookie Butter Cheesecake Cups.
If you’ve never experienced the magic of Biscoff, buckle up. These personal-sized cups layer the famously caramelized Biscoff cookie crumb crust with a light, fluffy cheesecake filling infused with creamy Biscoff cookie butter. They are rich, yet airy, and disappear faster than the team can score a goal!
For the banquet, I ended up tripling this recipe, and I watched them vanish from the table in record time. The "oohs" and "ahhs" from the players, coaches, and parents confirmed it: this recipe is a winner. Best of all? It's no-bake, meaning your oven stays free and the prep is simple enough for even a beginner baker.
Ready to make your next gathering a success? Let's dive into the recipe!
Biscoff Cookie Butter Cheesecake Cups Recipe
This recipe is designed to make 6-8 individual cups using standard 4-ounce dessert cups.
Instructions
Cheesecake Filling
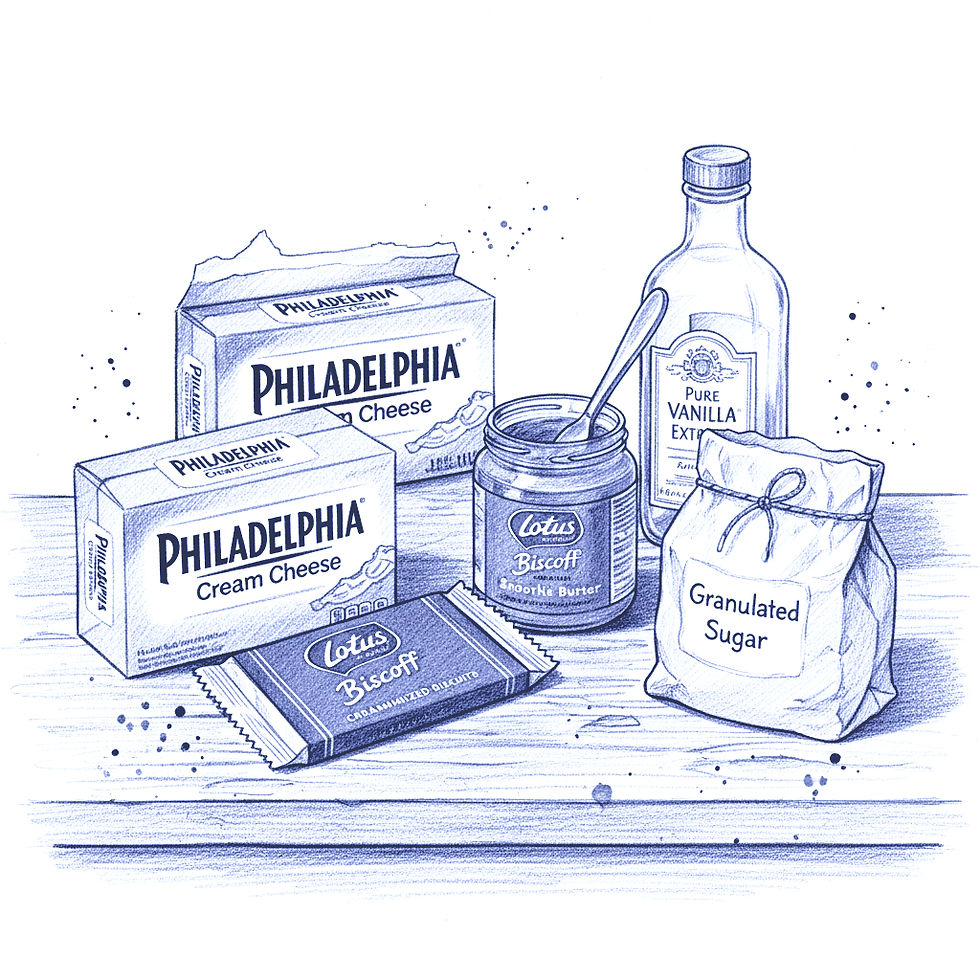
2 cups Heavy Whipping Cream (cold)
16 oz Cream Cheese (room temperature)
1 cup Granulated Sugar
2 teaspoons Vanilla Extract
1 jar Biscoff Cookie Butter Spread
Crust and Topping
Approx. 1 sleeve of Biscoff Cookies (for crust and topping crumbs)
A small amount of extra Biscoff Cookie Butter Spread (for melting and drizzling)
Approx. 4 whole Biscoff Cookies (to break in half for garnish)
Step 1: Prepare the Whipped Cream
In a stand mixer or using a hand mixer, whip the 2 cups of Heavy Whipping Cream until it forms stiff, beautiful peaks. Set this bowl aside.

Step 2: Make the Cheesecake Base
In a separate, large bowl, cream together the room temperature Cream Cheese, Sugar, and Vanilla until the mixture is completely smooth and lump-free.
Add the 1 large spoonful of Biscoff Cookie Butter to the cream cheese mixture and mix/cream thoroughly until the cookie butter is fully and evenly incorporated.

Step 3: Finish the Filling
Using a spatula, gently fold in the prepared Whipped Cream into the cheesecake base mixture. Be gentle—you want to keep the mixture light and airy! Stop folding as soon as no streaks of cream cheese remain.

Step 4: Prepare Crust and Topping Elements
Place the whole Biscoff Cookies (for the crust/topping) in a food processor and pulse until fine, sandy crumbs are formed.
Melt the remaining Biscoff Cookie Butter in the microwave for 25-30 seconds until it is smooth and easily pourable.

Step 5: Assemble the Cups
Crust: Spoon a layer of Cookie Crumb into the bottom of your 4 oz cups and press down lightly to form a compact crust.
Filling Layer 1: Pipe or spoon the Cheesecake Filling Mixture (the cream cheese and whipped cream base) onto the crust, filling the cup about halfway.
Filling Layer 2 : Spoon a generous layer of Melted Biscoff Cookie Butter over the cream cheese filling, covering it completely. Let it settle into a smooth, even layer. Make sure your Biscoff is melted enough to be pourable, but not so hot it melts the cream.
Garnish: Using a piping bag or a spoon, add a small Dollop of the remaining Cheesecake Filling (or separate plain whipped cream, if you prefer a stark white contrast) directly onto the center of the Biscoff layer.
Crumb Dusting: Sprinkle a light dusting of the remaining Cookie Crumb over the top.
Garnish: Break the whole Biscoff cookies in half and place 1/2 of a cookie into the dollop for the final flourish.
Chill: Refrigerate for at least 2 hours to allow the layers to fully set before serving.

A Few Pro Tips:
Don't Skimp on the Cream Cheese Temp: Making sure your cream cheese is truly at room temperature is the key to a smooth, lump-free filling.
Whip It Good: Stiff peaks in the heavy cream are necessary to ensure your cheesecake filling holds its shape when chilled.
Travel Tip: When I brought these to the banquet, I kept them chilling in the refrigerator until the last minute and packed them in a cooler bag with a small ice pack for the short drive.
Enjoy this dessert! It's guaranteed to be the most requested recipe at your next event.
Till Next Time! Holly
Comments